


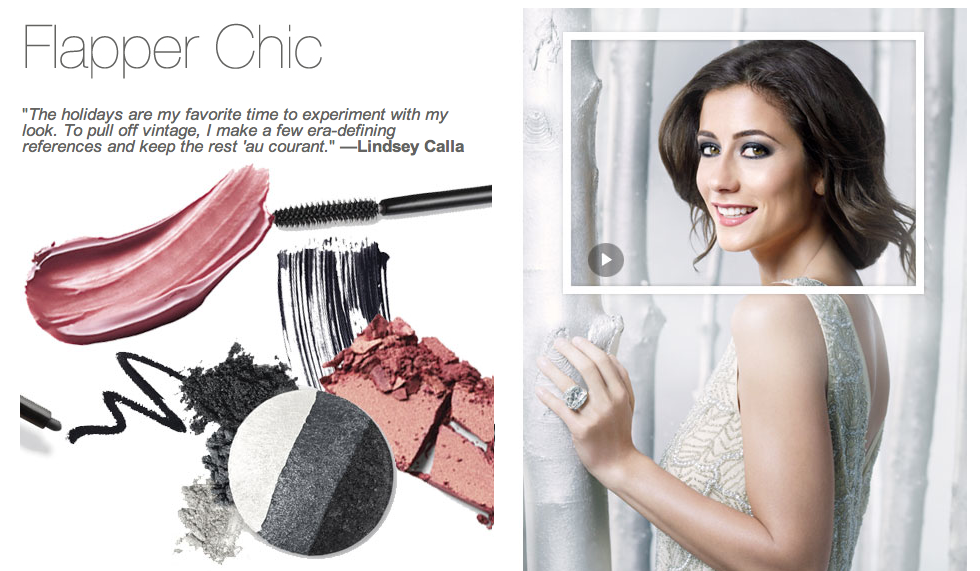
My good friend and fellow blogger, Lindsey Calla of Saucy Glossie has taken over Mary Kay this season to create and model some unforgettable looks for this holidays. Of the assortment she did a really beautiful “Flapper Chic” look which balances a smoky eye with a nude lip (as photographed above). If you click the image you can see the inspiration and behind-the-scenes footage from her photo shoot.
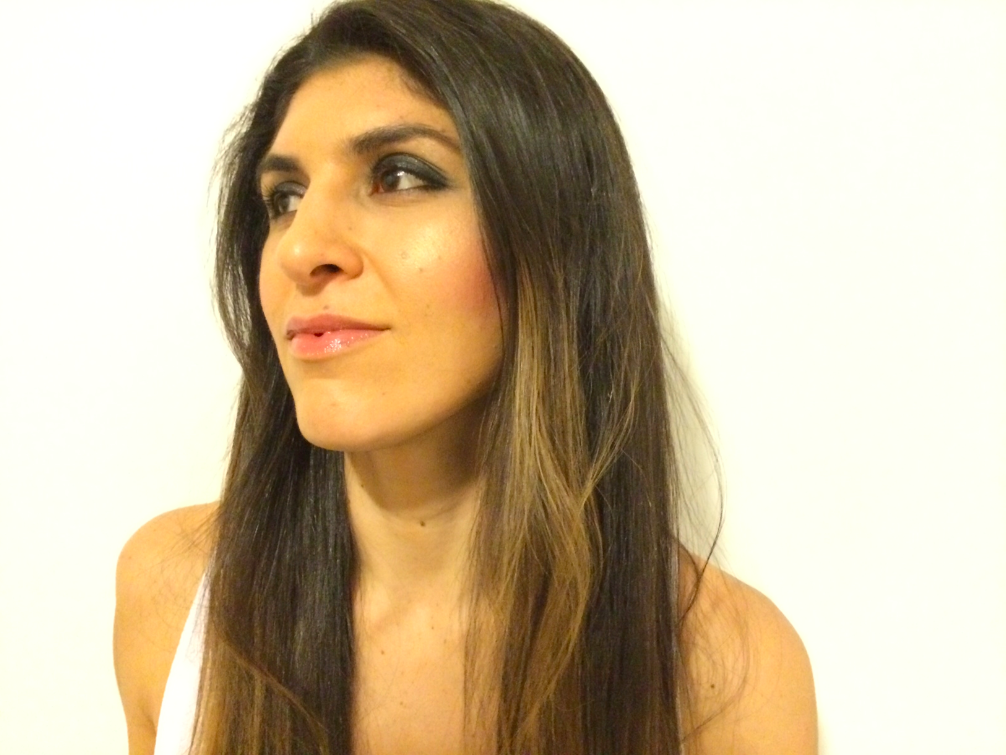
Well my friends at Conde Nast sent me over the exact products used for the shoot to recreate or do an adaptation of how to get the look at home. Obviously inspired by Lindsey’s Flapper Chic look, I warmed the look up a bit and softened the eyes while still maintaining the smokey look. I’m a much darker skin tone then Lindsay so I focused on illuminating the cheekbone area instead of my whole face (I’d look like a ghost). And instead, (Flappers of the past, cover your ears), I used more bronzer around the face to make it the look feel softer and more natural.
 GET THE LOOK:
The first step is optional: If you’re a foundation user, this is the time to smooth out your complexion and even your skin tone. I have highly pigmented lips so I extend my powder through my lips to mute out the shade.
Next, and most important, the eyes! How to conquer the smoky eye:
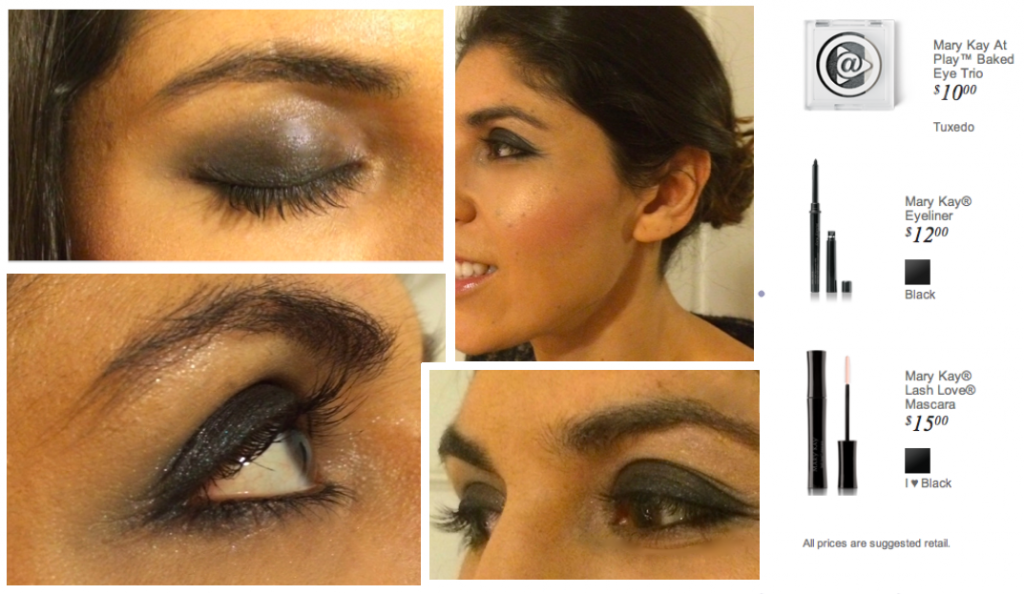 The key to creating the perfect smoky eye look is both in the blending and gradating from white, silver/gray to black.
Step 1: Begin with a soft application of the Mary Kay® Eyeliner in Black ($12) on the top and bottom lid. Depending on the intensity of your desired line, build the amount of coverage.
Step 2: Using the Mary Kay At Play™ Baked Eye Trio in Tuxedo ($10) apply the white shade to the top of your eye lid, followed by the silver/gray shade shade in the crease and extended in part to the eye lid. Then complete the rest of the eye lid using the black.
Step 3: go back up from dark to light using a blending brush and connect the colors so there is a clear gradation between the three shades but they are well blended so the integration looks very smooth.
Step 4: Using the same Mary Kay® Eyeliner in Black go back over your original liner application and re-do the eye pencil along the top and bottom eye lid.
Step 5. Apply Mary Kay® Lash Love® Mascara in I ♥ Black ($15) to eyelashes
Step 6: Apply Mary Kay Oil-Free Eye Make Up Remover ($15, it’s my favorite) to a qtip and tackle any fall out around the eye area from the eye shadow. You can then apply your under-eye concealer or foundation if necessary.
Lips:
Once you’ve concourqed the eyes, the lips are the easy part! I’m a huge fan of the Mary Kay® NouriShine Plus® Lip Gloss, I find them to be very soft and smooth to apply. It’s actually a lip gloss I enjoy re-appllying. For this look, I used the Mary Kay® NouriShine Plus® Lip Gloss in shade Café au Lait. It offers just enough shine while still feeling so natural on. If you prefer a lipstick and gloss on top opt for Mary Kay True Dimensions Lipstick in Natural Beaute ($18) prior to applying the gloss.
FACE:
Lastly, apply the Mary Kay® Mineral Cheek Color in Shy Blush straight across the cheek bone using a blush brush. Follow with by the darker tone of Mary Kay Mineral Bronzing Powder in Desert Sun ($12) directly above it with the illuminating bronzer that is also part of the Desert Sun shade directly above the bronzer tone. Then go in with a clean blush and blend the three together using upward motions so it gradates.I like to go back in with the highlighter for extra emphasis.
Finish with either the Mary Kay Makeup Finishing Spray by Skindinavia ($18) or Mary Kay Translucent Loose Powder ($16) depending on the desired finish. The powder has a slight sparkle and since I was going for a more natural rendition of this look, I opted for the finishing spray.
{Disclaimer: I received complimentary product from Mary Kay through Condé Nast and a gift card}